Using skinned meshes
Skinning is the process of binding a 3D mesh to a skeleton that consists of a hierarchical set of connected bones and which you can use to animate the mesh. Kanzi uses shaders to enable skinning. See Shaders.
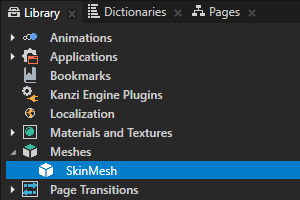
Shader that handles the skinning sets the bone count and the amount of bones that can affect a single vertex. You can use only one skinned mesh in a Kanzi Studio project.
If in your Kanzi Studio project your skinned mesh does not work as you intended:
- Use the messages printed in the Log window as guidelines for changing the mesh in your third-party tool and reimport the mesh.
- If the mesh you want to skin is complex, try simplifying it.
- Check in your content tool that the bones do not have inverted matrices before you map the vertices to bones. Inverted matrices are often caused by tools that perform flipping or mirroring of objects on some axis. If the bones in your mesh have inverted matrices, remove them and remap the vertices to the bones.
Adding a skinned mesh
Before you can add a skinned mesh to a Kanzi Studio project, in a third-party tool create a 3D model with the skinned mesh and export it to either fbx or dae file format.
To add a skinned mesh to your Kanzi Studio project, in the Assets click Import Assets and import the 3D asset which contains the skinned mesh.

When Kanzi Studio imports a skinned mesh, it:
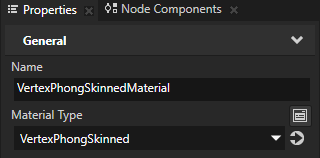
- Sets the material of the skinned mesh to use the VertexPhongSkinned material type.
VertexPhongSkinned material type by default supports skinning of meshes with up to three bones. If your skinned mesh uses more than three bones, you can set the number of bones in the VertexPhongSkinned material type. See Setting the number of bones for a skinned mesh.

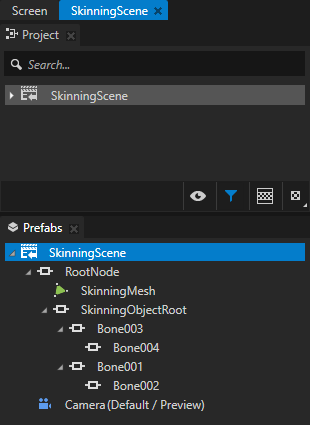
- Creates in the Prefabs a new Scene named after the imported file.
To show the content of the Scene prefab in the Preview, in the Prefabs double-click that prefab.
Kanzi Studio opens the prefab in a new Preview tab and shows the content of that prefab in the Preview.
Setting the number of bones for a skinned mesh
You can set the number of bones in your skinned mesh in the material type of the material that you use for your skinned mesh.
To set the number of bones for a skinned mesh:
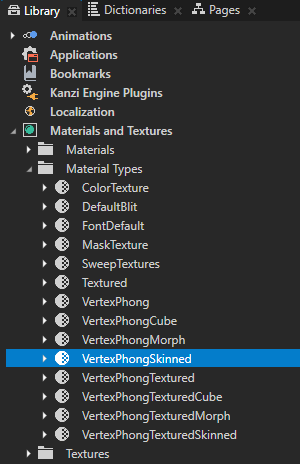
- In the Library > Materials and Textures > Material Types, select the material type that you use for your skinned mesh.
For example, select the VertexPhongSkinned material type.
- In the Properties set the Value of the KANZI_SHADER_SKINNING_BONE_COUNT preprocessor define to the number of bones your skinned mesh uses and press the Enter key.
For example, if your skinned mesh uses five bones, set the Value to 5 and press the Enter key.
TIPYou can use any Phong material type for your skinned mesh by applying that material to the mesh and setting the Value of the KANZI_SHADER_SKINNING_BONE_COUNT preprocessor define to the number of bones in your skinned mesh. See Modifying the default Phong material types.

See also
3D assets
Preparing 3D assets in third-party tools
Importing 3D assets
Material types and materials
Using material types
Shaders
Editing shaders
Using meshes
Meshes best practices

Open topic with navigation